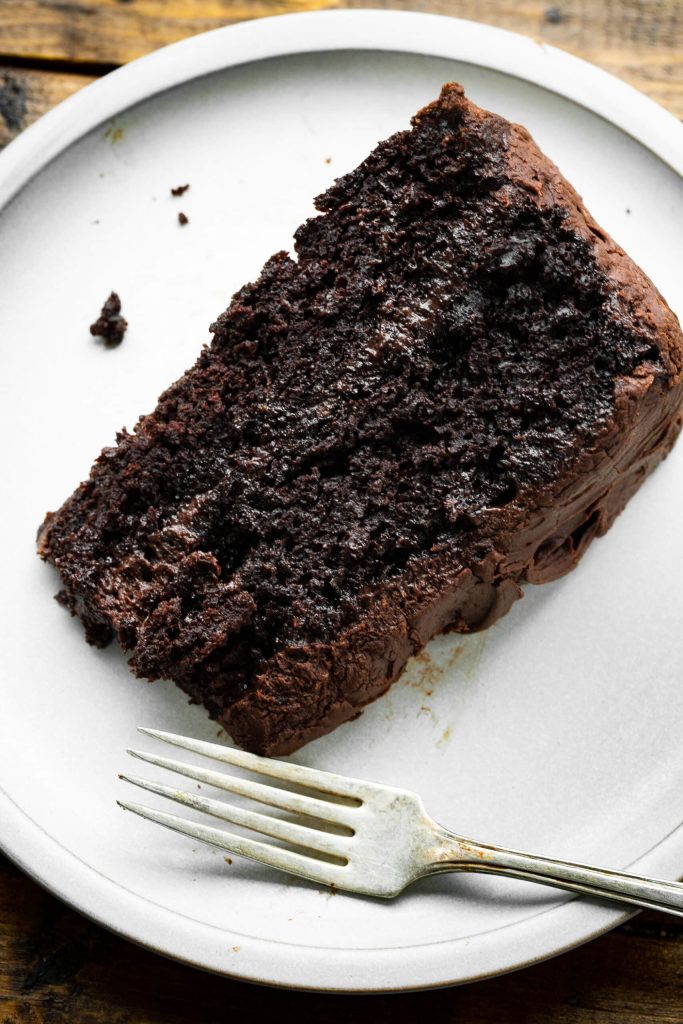
Do you love indulging in a slice of moist and delicious cake? If so, you’re in luck! In this article, we will walk you through the step-by-step process of baking the perfect cake that is moist, fluffy, and bursting with flavour. From selecting the right ingredients to mastering the exact baking time, we’ve got you covered. Get ready to impress your friends and family with your newfound baking skills as we unveil the secrets to achieving cake perfection.
Choosing the Right Ingredients
Quality of Ingredients
When it comes to baking a delicious and moist cake, the quality of ingredients plays a crucial role. Using fresh and high-quality ingredients will enhance the taste and texture of your cake. Opt for fresh eggs, pure vanilla extract, and high-quality flour and sugar. Investing in good ingredients will elevate the overall taste of your cake.
Measuring Ingredients Accurately
Accurate measurements are essential for baking a perfect cake. Use measuring cups and spoons to ensure precise measurements of dry ingredients like flour and sugar. For liquid ingredients such as milk and oil, use a liquid measuring cup with clear markings. A digital kitchen scale is also a great tool for measuring ingredients accurately, especially for baking recipes that require weight measurements.
Using Unsalted Butter
Unsalted butter is often recommended for baking cakes as it allows you to have complete control over the amount of salt in your recipe. Salted butter may contain varying amounts of salt, which can affect the overall taste of your cake. By using unsalted butter, you can adjust the salt content to your liking and ensure a balanced flavor.
Using Room Temperature Ingredients
Using room temperature ingredients is another important factor in achieving a moist and delicious cake. When ingredients such as eggs, butter, and milk are at room temperature, they blend together more easily, resulting in a smoother batter. Room temperature ingredients also help create a tender texture and promote even baking. Plan ahead and take your ingredients out of the fridge about 1-2 hours before baking.
Preparing the Cake Pans
Greasing the Cake Pans
Properly greasing the cake pans is crucial to prevent your cake from sticking and ensure easy release after baking. Start by applying a thin layer of butter or vegetable oil to the entire inner surface of the pan, including the sides. You can use a pastry brush or your fingers to evenly coat the pan. If the recipe calls for it, you can also dust the greased pan with flour to create an additional barrier between the batter and the pan.
Using Parchment Paper
Even if you have greased your cake pans, using parchment paper can provide an extra level of insurance against sticking. Cut out rounds of parchment paper to fit the bottom of each cake pan and place them after greasing. The parchment paper acts as a non-stick liner, making it easier to remove the cake from the pan without damaging its shape. It also ensures that the bottom of your cake won’t stick to the pan.
Dusting the Pans with Flour
Another technique to prevent sticking is dusting the greased pans with flour. After greasing the pans, add a spoonful of flour into each pan and gently rotate and tap the pan to distribute the flour evenly. Then, turn the pans upside down and tap out any excess flour. This flour coating creates a layer between the pan and batter, allowing the cake to release easily once baked.
Proper Mixing Techniques
Creaming Butter and Sugar
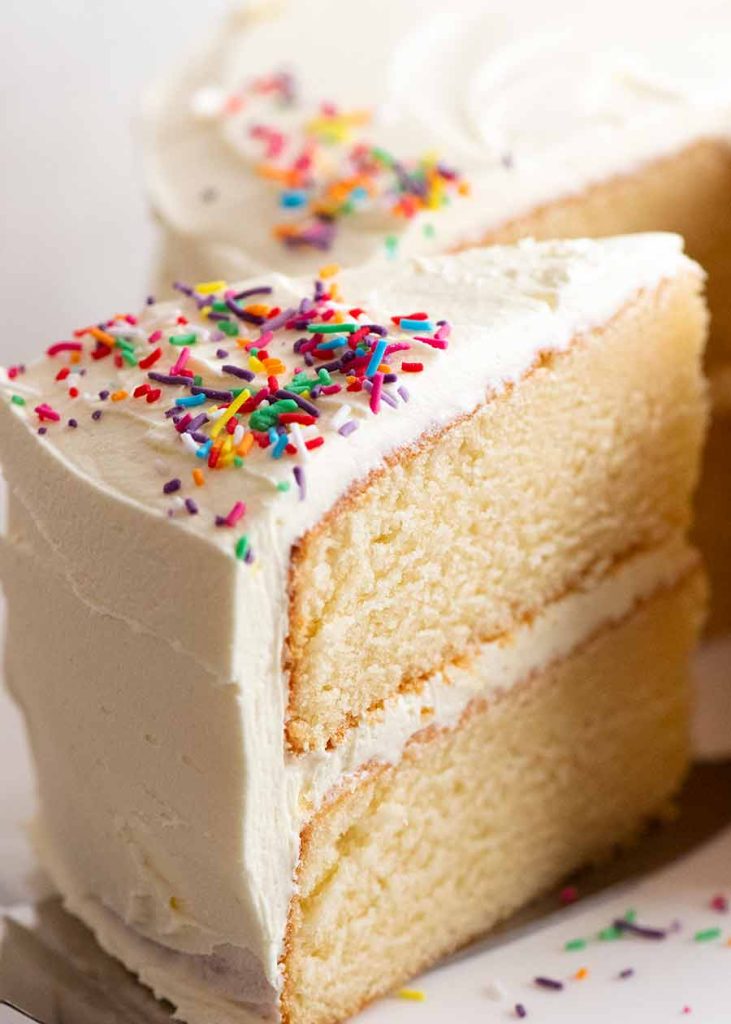
Creaming butter and sugar together is a fundamental step in many cake recipes. Start by ensuring your butter is at room temperature, as it needs to be soft but not completely melted. Using an electric mixer or a stand mixer, beat the butter on medium speed until it becomes light and fluffy. Gradually add the sugar and continue mixing until the mixture becomes pale and creamy. This process incorporates air into the batter, which contributes to a tender and moist cake.
Alternating Wet and Dry Ingredients
When adding the wet and dry ingredients to the batter, it’s important to alternate between them. Start by adding about one-third of the dry ingredients to the creamed butter and sugar mixture, followed by half of the wet ingredients (such as milk or buttermilk). Mix on low speed until just combined, then add another third of the dry ingredients, followed by the rest of the wet ingredients. Finish by adding the remaining dry ingredients. This method helps ensure thorough mixing without overworking the batter.
Avoiding Overmixing
Overmixing the batter can lead to a dense and tough cake. Once all the ingredients are incorporated, mix just until the batter is smooth and no lumps remain. Be cautious not to overmix, as this can cause the gluten in the flour to develop, resulting in a tougher texture. It’s better to have a few small lumps than to overmix the batter. Use a spatula to gently fold in any remaining dry ingredients if needed.
Adding Moisture to the Batter
Incorporating Sour Cream or Yogurt
Adding sour cream or yogurt to your cake batter can significantly improve its moisture and tenderness. These dairy products add richness and depth to the flavor while keeping the cake moist. When using sour cream or yogurt, you can substitute them for an equal amount of milk called for in the recipe. The slight acidity in these ingredients also helps activate the leavening agents, resulting in a lighter and more tender cake.
Using Buttermilk
Buttermilk is a fantastic ingredient for enhancing moisture and achieving a tender crumb in cakes. Its acidic nature adds tanginess and promotes tenderness. Substitute buttermilk for regular milk in equal amounts to give your cake extra moisture. If the recipe doesn’t specify buttermilk, you can make a homemade version by adding one tablespoon of lemon juice or vinegar to one cup of milk and letting it sit for a few minutes until it curdles.
Adding Fruit Purees or Applesauce
Incorporating fruit purees or applesauce into your cake batter can add both moisture and flavor. Pureed fruits such as bananas, apples, or berries can be used to replace a portion of the butter or oil in the recipe. They lend a natural sweetness and moisture to the cake while reducing the fat content. Simply mash or blend your chosen fruit until smooth and add it to the batter in place of some of the fats.
Baking at the Right Temperature
Preheating the Oven
Preheating the oven is a crucial step in baking a perfect cake. It allows the oven to reach the desired temperature before you put your cake in, ensuring even baking from the start. Follow the recipe’s instructions for the recommended preheating temperature. Preheat the oven at least 10-15 minutes before you plan to bake your cake to ensure it is adequately heated.
Using an Oven Thermometer
Many ovens have inaccurate temperature readings, which can affect the outcome of your cake. To ensure the correct baking temperature, use an oven thermometer. Place it inside your oven during the preheating process and check the reading once it reaches the desired temperature. Adjust the oven temperature accordingly to ensure your cake bakes at the intended temperature.
Adjusting the Baking Time
While recipe instructions provide a general guideline for baking time, it’s essential to keep a close eye on your cake. Factors such as oven temperature accuracy, cake pan size, and even the specific recipe can all influence the baking time. Start checking for doneness slightly before the recommended baking time. Insert a toothpick into the center of the cake; if it comes out clean or with a few moist crumbs, your cake is done.
Checking for Doneness
Testing with a Toothpick
Testing the doneness of your cake is an essential step to avoid underbaking or overbaking. The most common method is using a toothpick. Insert a clean toothpick into the center of the cake, avoiding any chunks of fruit or filling. If the toothpick comes out clean or with just a few moist crumbs, the cake is ready. If it comes out with wet batter, it needs more time to bake.
Checking for Springy Texture
Another indication of a properly baked cake is a springy texture when gently pressed with your fingertips. Once the toothpick test shows that the cake is mostly done, lightly press the center of the cake with your fingertip. If it springs back and leaves no indentation, the cake is done. If your finger sinks into the cake or leaves a visible imprint, it needs more time to bake.
Avoiding Overbaking
Overbaking can result in a dry and crumbly cake. To prevent this, it’s important to keep a close eye on the cake during the final minutes of baking. Even a few extra minutes in the oven can make a significant difference. Remember that the residual heat will continue to cook the cake as it cools, so it’s better to slightly underbake than to overbake.
Proper Cooling and Unmolding
Allowing the Cake to Cool Completely
Once your cake is baked, resist the temptation to remove it from the pan immediately. Allow the cake to cool in the pan for 10-15 minutes. This cooling period allows the cake to set and makes it easier to remove from the pan without breaking or crumbling. Afterward, transfer the cake to a cooling rack to cool completely before frosting or slicing.
Using a Cooling Rack
Using a cooling rack is essential to ensure proper air circulation and even cooling of your cake. It prevents the bottom of the cake from becoming soggy by allowing the excess heat to escape. Place the cooling rack over a baking sheet or a clean surface to catch any crumbs or glaze drips while the cake cools. This also helps to keep your work area tidy.
Flipping the Cake onto a Plate
When it’s time to remove the cake from the pan, take a plate or a cake board that’s larger than the cake and place it upside down on top of the cake pan. With one hand holding the plate firmly against the pan, carefully flip the pan so that the cake releases onto the plate. Gently lift the cake pan away, and if the parchment paper was used, gently peel it off the cake. Voila! Your perfectly baked cake is now ready for decorating and serving.
Moisturizing Syrups and Soaking
Brushing Simple Syrup onto the Cake Layers
Simple syrup is a mixture of equal parts water and sugar that is heated until the sugar dissolves. By brushing the cake layers with simple syrup, you can add extra moisture to your cake, especially if you find it slightly dry. Use a pastry brush to apply a thin layer of syrup onto each layer before adding your chosen frosting or filling. The syrup will soak into the cake layers, ensuring a moist and delectable result.
Enhancing Flavor with Flavored Syrups
For an added layer of flavor, consider using flavored syrups to moisten your cake layers. Flavored syrups can be made by infusing the simple syrup with various ingredients such as citrus zest, vanilla beans, or extracts like almond or rum. The infused syrup will impart a subtle, delicious taste to your cake and elevate its overall flavor profile.
Soaking the Cake Overnight for Extra Moisture
If you really want to take your cake to the next level of moisture, consider soaking it overnight. This technique is commonly used for delicate sponge cakes or angel food cakes. Prick the cooled cake all over with a toothpick or skewer and slowly pour a mixture of flavored syrup or fruit juice over the cake. Cover the cake tightly with plastic wrap and refrigerate overnight. The cake will absorb the liquid, resulting in an incredibly moist and flavorful dessert.
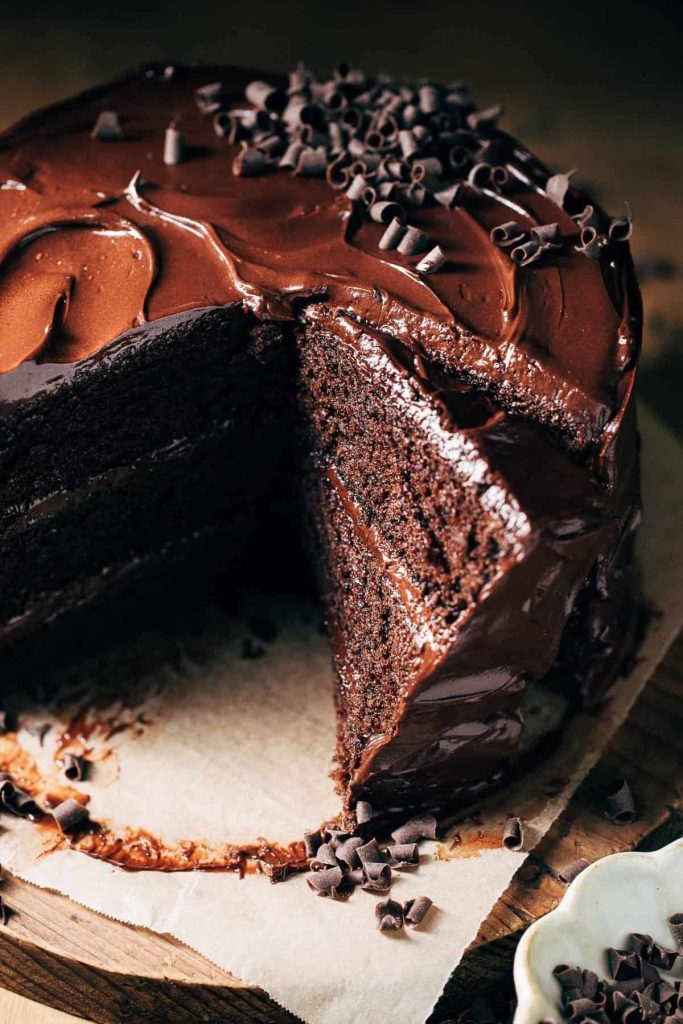
Frosting and Filling Techniques
Applying a Crumb Coat
A crumb coat is a thin layer of frosting applied to the cake before the final coat. It helps seal in any loose crumbs and creates a smooth base for the final frosting layer. To apply a crumb coat, spread a thin layer of frosting over the entire cake, ensuring to cover the top, sides, and edges. Place the cake in the refrigerator for about 15-20 minutes to allow the crumb coat to set before applying the final layer of frosting.
Using an Offset Spatula for Smooth Frosting
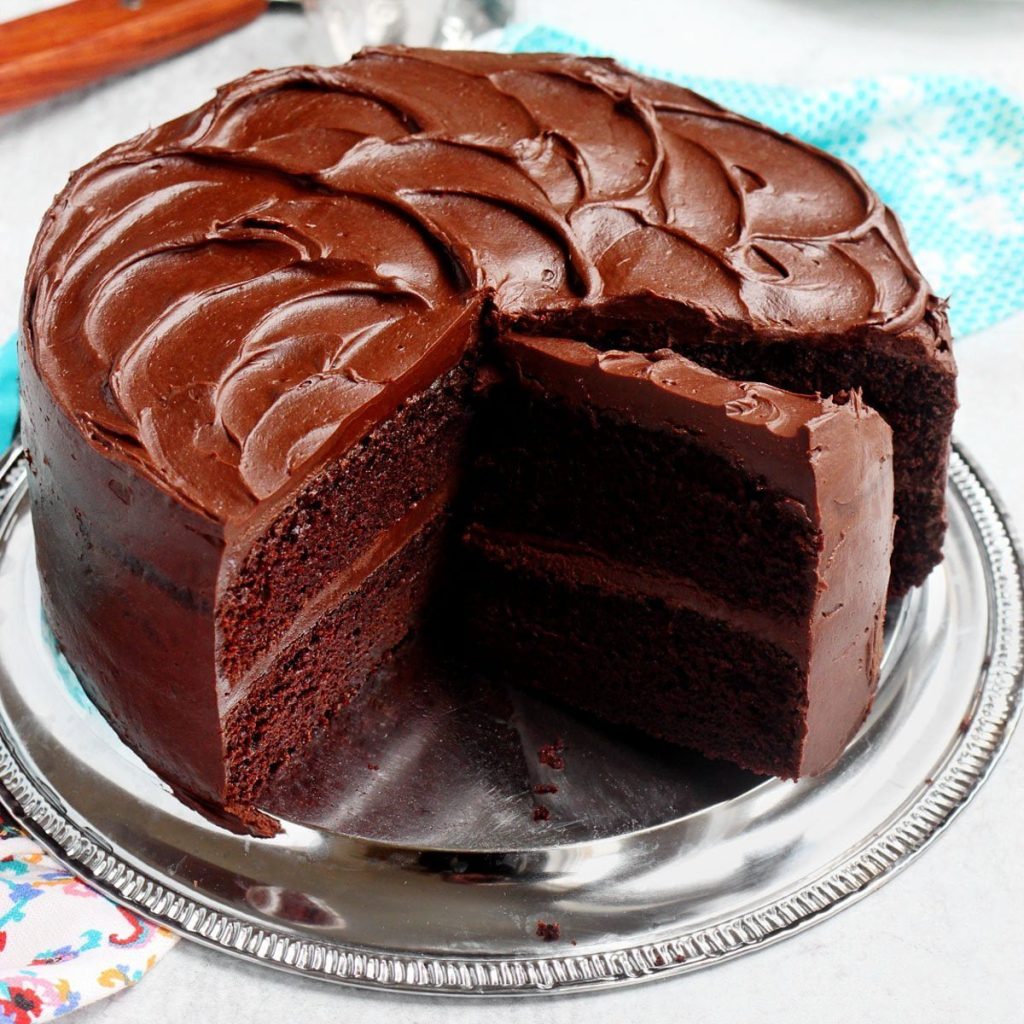
To achieve a beautifully frosted cake, using an offset spatula is key. Its angled blade allows for precise spreading and smoothing of the frosting. Start by applying a generous dollop of frosting onto the center of the cake and use the spatula to spread it evenly across the top and down the sides of the cake. Use long, smooth strokes to create an even layer of frosting. To achieve clean edges, hold the spatula parallel to the cake and gently run it along the sides.
Creating Layers with Filling
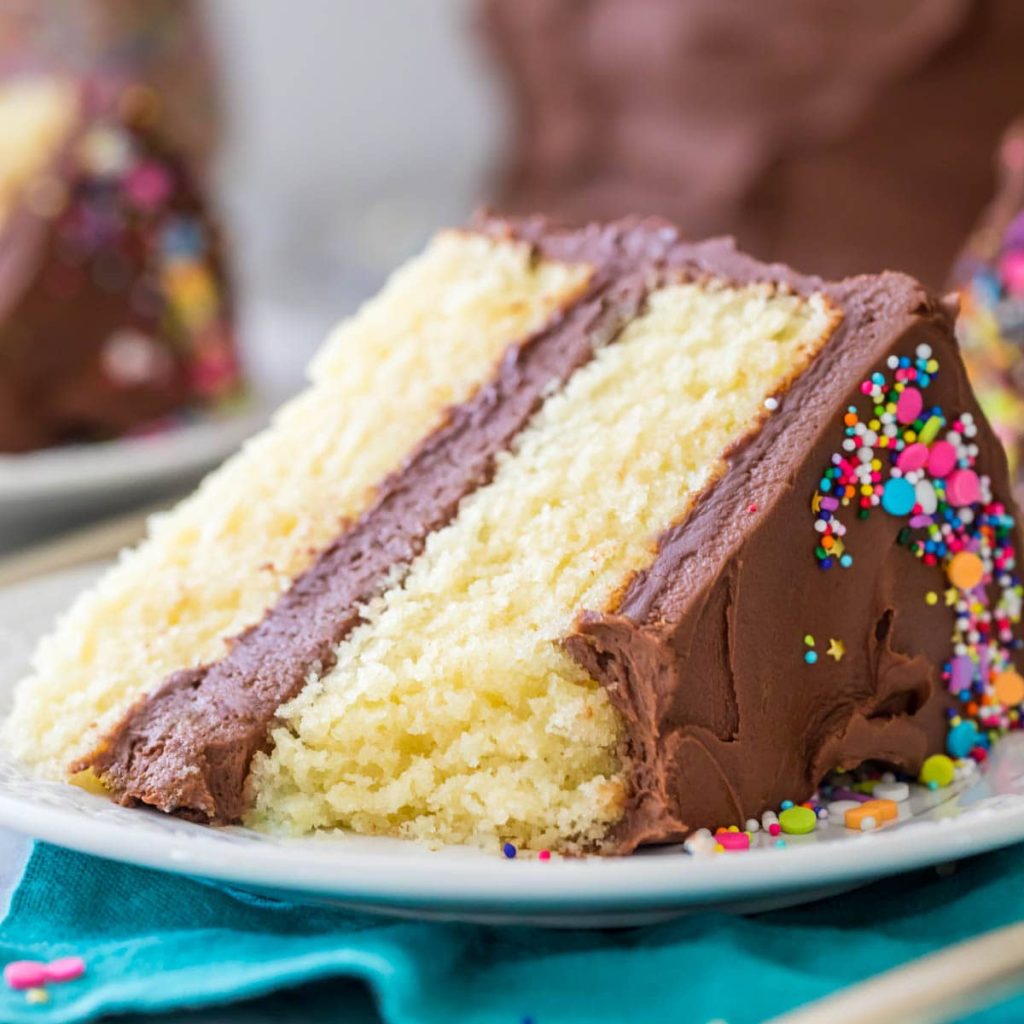
If you desire a layered cake, consider adding a filling between the cake layers for added flavor and texture. Choose a filling that complements your cake, such as fruit preserves, pastry cream, or chocolate ganache. Spread a thin layer of filling onto one cake layer, leaving a small border around the edges. Place the second layer on top and continue to frost the cake as usual. The filling will add moisture and enhance the overall taste of the cake.
Storing the Cake
Properly Wrapping and Refrigerating
To keep your cake fresh and moist, it’s essential to store it properly. After frosting, the cake can be wrapped in plastic wrap or placed in an airtight container. Make sure there are no air gaps between the cake and the container to prevent drying out. Refrigerate the cake to keep it at a cool temperature and maintain its freshness. Before serving, allow the cake to come to room temperature for about 30 minutes to an hour.
Freezing for Longer Storage
If you want to extend the shelf life of your cake, freezing is a great option. Once the cake has completely cooled, wrap it tightly with plastic wrap or place it in a freezer bag. For added protection against freezer burn, wrap it in aluminum foil as well. Frozen cakes can last for several months if stored properly. Before serving, allow the cake to thaw in the refrigerator overnight and come to room temperature before unwrapping.
Tips on Reheating
If you have leftover cake or want to serve a previously frozen cake, reheating is a simple solution. To regain moisture and freshness, place the cake slices in a preheated oven at a low temperature (around 150°C/300°F) for about 10-15 minutes. This gentle warming will warm the cake without drying it out. Alternatively, individual slices can also be microwaved for a few seconds, but be cautious not to overheat, as it can lead to a rubbery texture.
By following these comprehensive guidelines, you’ll be well on your way to baking perfectly moist and delicious cakes. Remember to choose high-quality ingredients, measure accurately, and use proper techniques at each stage of the baking process. Whether you’re a novice baker or a seasoned pro, these tips and tricks will help you achieve cake perfection every time. So, gather your ingredients, preheat your oven, and let the baking adventure begin. Happy baking!
