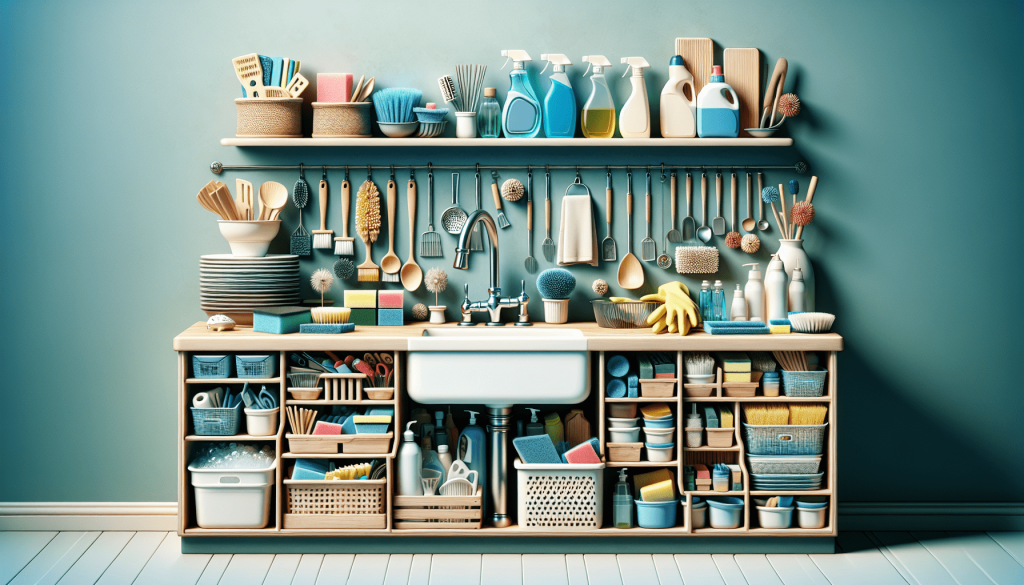
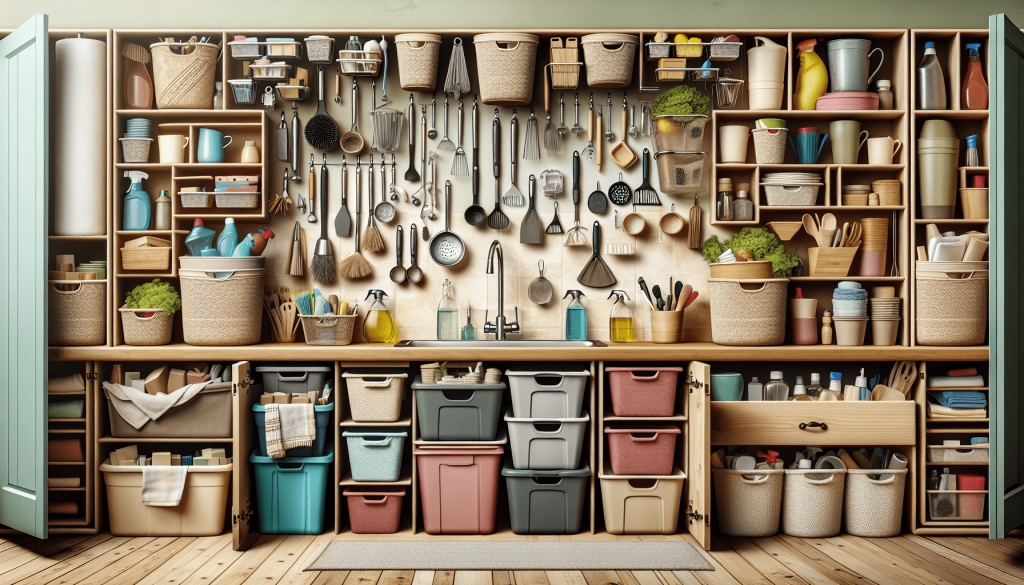
Are you tired of struggling to find what you need under your kitchen sink? If so, look no further! In this beginner’s guide, we will show you simple and effective steps to organize the chaos under your kitchen sink. From cleaning supplies to dishwashing gadgets, we’ll help you create a functional and tidy space that will make your daily kitchen tasks a breeze. Say goodbye to rummaging through clutter and hello to a beautifully organized area under your kitchen sink! Organizing the space under your kitchen sink may seem like a difficult and daunting task, but with a little planning and some simple strategies, you can transform this cluttered area into a clean and functional storage space. In this article, we’ll guide you through the process of evaluating the space, decluttering and cleaning, choosing storage solutions, maximizing cabinet doors, categorizing and arranging items, labeling and maintaining, considering additional accessories, preventing water damage, utilizing extra space, and providing some DIY inspiration and ideas. So let’s get started!
Evaluate the Space
The first step in organizing under your kitchen sink is to evaluate the space. This means taking measurements to determine the available space and assessing the existing storage options. Measure the width, height, and depth of the cabinet to get an accurate idea of the space you have to work with. Take note of any existing shelves or dividers and evaluate their condition. This will help you determine what storage solutions will work best for your needs.
Declutter and Clean
Once you have evaluated the space, it’s time to declutter and clean. Start by removing everything from under the sink, including cleaning supplies, trash bags, and any other items that may have accumulated over time. Sort through these items and purge anything that is expired, no longer needed, or in poor condition. This will help create a clean slate for organizing.
With the area cleared, take the opportunity to clean the space thoroughly. Wipe down the walls, shelves, and floor of the cabinet with a mild cleaner. This will ensure a fresh and clean start for your newly organized space.

Choose Storage Solutions
With a clean and decluttered area, it’s now time to choose storage solutions that will maximize your space and make it more functional. Consider your needs and the items you need to store. Utilize vertical space by installing wire shelving or tension rods to create additional storage space. Use stackable bins or baskets to group similar items and maximize space. Install hooks and racks to hang cleaning brushes, gloves, or towels. These storage solutions will help keep your items organized and easily accessible.
Maximize Cabinet Doors
Don’t forget about the back of your cabinet doors! They can be valuable storage space when utilized effectively. Hang a door organizer on the inside of the cabinet door to store small items like sponges, scrub brushes, or dish towels. Attach adhesive hooks to hang measuring spoons or oven mitts. Mount a tension rod and hang spray bottles or small cleaning tools. By utilizing the cabinet doors, you can free up valuable shelf space and keep commonly used items within easy reach.

Categorize and Arrange Items
Once you have chosen your storage solutions, it’s time to categorize and arrange your items. Group similar items together, such as cleaning supplies, dishwashing accessories, or trash bags. Allocate zones for each category so that everything has its designated place. For example, create a zone for dishwashing supplies with the detergent, sponges, and gloves all together. Arrange items within each category based on their frequency of use, keeping frequently used items within easy reach and less frequently used items towards the back.
Label and Maintain
To ensure your newly organized space stays that way, it’s important to label your containers. Labeling will help you and your family members quickly identify where items belong and create a sense of order. Use adhesive labels or a label maker to clearly mark the contents of containers or bins. By maintaining a consistent labeling system, you will easily be able to find and put away items.
Creating a maintenance routine is also crucial for keeping your under-sink area organized. Set aside a specific time each month to declutter and rearrange the items. Remove any expired or unused products and reorganize as needed. By regularly decluttering and rearranging, you can prevent clutter from building up and maintain an organized space.
Consider Additional Accessories
In addition to storage solutions, there are a few additional accessories that can further enhance the functionality of your under-sink area. Add shelf liners to the bottom of the cabinet to protect against spills and make clean-up easier. Use drawer dividers to separate and organize small items like sponges or dish brushes. Include a small trash bin or bag holder to keep garbage out of sight. These accessories will help streamline your storage and make your under-sink area more efficient.
Prevent Water Damage
Under the sink is a common area for water leaks and damage. To prevent this, consider using waterproof mats. These mats can be placed on the bottom of the cabinet to catch any spills or leaks. In addition, install a leak sensor near the pipes or under the sink to alert you if there is a water leak. These preventative measures will help protect your belongings and prevent costly repairs.
Utilize Extra Space
If you find that you still need more storage space, there are a few tricks you can use to utilize the extra space under your sink. Hang a tote bag on a hook to store extra cleaning supplies or plastic bags. Install a tension rod towards the front of the cabinet to hang spray bottles or other items with triggers. Utilize the exterior of the cabinet door by attaching hooks or small baskets to hold items like scrub brushes or sponges. These creative solutions will help you make the most of the space you have.
DIY Inspiration and Ideas
For those who love to get creative and personalize their organization solutions, here are a few DIY ideas to inspire you. Create a custom sliding drawer using a wooden box or drawer organizer to easily access items stored in the back of the cabinet. DIY a shelf expander using wire racks or wire baskets to create additional shelf space. Make a magnetic board using a metal sheet and magnets to store small metal items like bobby pins or paper clips. These DIY projects can be fun and rewarding, and they allow you to tailor your under-sink organization to your specific needs.
In conclusion, organizing the space under your kitchen sink doesn’t have to be a daunting task. By following these steps and utilizing the storage solutions, tips, and tricks provided, you can transform this cluttered area into a clean and efficient storage space. Remember to evaluate the space, declutter and clean, choose appropriate storage solutions, maximize cabinet doors, categorize and arrange items, label and maintain, consider additional accessories, prevent water damage, utilize extra space, and explore DIY inspiration and ideas. With a little time and effort, you’ll have a well-organized under-sink area that makes it easier to find and store your kitchen essentials. Happy organizing!
