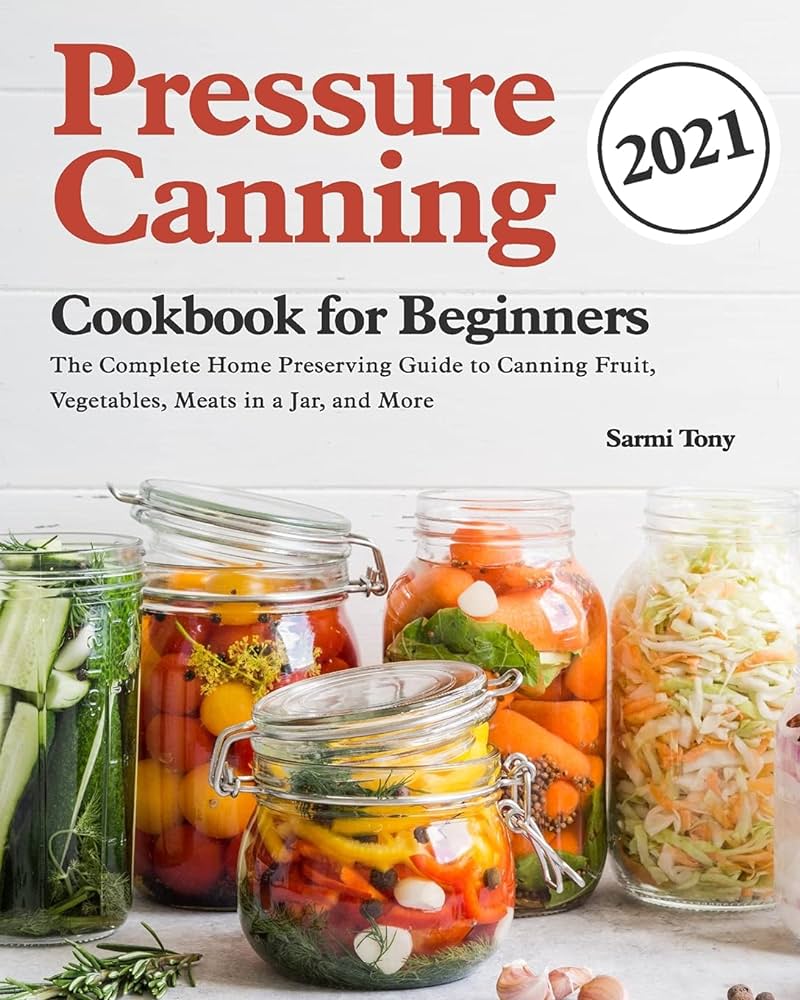
If you’ve always been curious about canning and preserving fruits and vegetables but have never known where to start, then this Beginner’s Guide is for you. In this article, we will walk you through the simple steps and techniques to help you confidently embark on your canning and preserving journey. From selecting the freshest produce to understanding different canning methods, you’ll soon be enjoying the satisfaction of preserving your own delicious fruits and vegetables all year round. So let’s get started and explore the wonderful world of canning and preserving together!
Benefits of Canning and Preserving
Canning and preserving fruits and vegetables at home offers numerous benefits that make it a worthwhile activity. From extending the shelf life of your favorite produce to saving money, there are plenty of advantages to enjoy. In addition to these practical benefits, canning and preserving also allow you to retain the nutrients in your fruits and vegetables and preserve their flavors. Let’s explore each of these benefits in more detail.
Extending Shelf Life
One of the biggest advantages of canning and preserving is the ability to extend the shelf life of your fruits and vegetables. By sealing them in jars, you create a barrier that protects them from spoilage and preserves their freshness for longer periods. This means that you can enjoy your favorite seasonal produce even when they are out of season. Additionally, canned fruits and vegetables can last for one to two years, allowing you to enjoy your homemade preserves well beyond their usual lifespan.
Cost Savings
Another great benefit of canning and preserving is the ability to save money in the long run. Buying fruits and vegetables in bulk when they are in season and at their peak reduces their cost significantly. Instead of paying high prices for out-of-season produce, you can stock your pantry with your own homemade preserves. Furthermore, canning allows you to take advantage of special offers and discounts, allowing you to cut down on your grocery bill while still enjoying your favorite fruits and vegetables.
Nutrient Retention
Preserving fruits and vegetables at home ensures that you retain their valuable nutrients. The canning process helps to lock in the vitamins and minerals present in your produce, preserving their nutritional value for extended periods. This makes canned fruits and vegetables a great option for those looking to incorporate healthy foods into their diet throughout the year. By canning your own produce, you have control over the ingredients and can avoid any unnecessary additives or preservatives that are often found in store-bought canned goods.
Flavor Preservation
One of the most delightful aspects of canning and preserving is that it allows you to preserve the flavors of your favorite fruits and vegetables. By capturing them at their peak ripeness and sealing them in jars, you can enjoy the delicious taste of summer even during the colder months. The canning process helps to preserve the natural flavors and textures of the produce, ensuring that each bite of your homemade preserves is bursting with freshness and authenticity. Homemade canned goods also allow you to customize the flavors according to your preferences by adding herbs, spices, or sweeteners.
Now that we’ve explored the benefits of canning and preserving, let’s delve into the essential equipment you’ll need to get started.
Essential Equipment for Canning and Preserving
To embark on your journey into the world of canning and preserving, it’s essential to have the right equipment at hand. Having the necessary tools and supplies will ensure that your canning process runs smoothly and efficiently. Here are the must-have items for every budding home canner.
Water Bath Canner
A water bath canner is a large pot or kettle specifically designed for home canning using the water bath method. It typically has a rack that sits at the bottom to hold the jars, allowing hot water to circulate around them during processing. The water bath canner provides a controlled environment for heating the jars, ensuring that the contents are safely preserved.
Pressure Canner
While a water bath canner suffices for high-acid foods like fruits and pickles, a pressure canner is necessary for low-acid foods such as vegetables and meats. Unlike a water bath canner, a pressure canner uses pressure and high temperatures to eliminate any bacteria or microorganisms that could cause spoilage. It’s important to choose a pressure canner that is approved for home use and follows the safety guidelines provided by the manufacturer.
Jars and Lids
Jars are an essential component of canning and preserving, as they serve as the containers for your homemade preserves. Mason jars or glass jars with airtight lids are the most commonly used options. It’s important to choose jars that are specifically designed for canning, ensuring that they can withstand the high temperatures during processing. Lids with rubber seals are crucial for creating a vacuum seal that keeps your preserves fresh and safe from bacteria.
Canning Tools and Utensils
Several tools and utensils come in handy during the canning process to make your life easier. A jar lifter allows you to safely remove hot jars from the canner, protecting your hands from potential burns. A bubble remover tool helps eliminate any trapped air bubbles from your jars before sealing them. A canning funnel ensures a clean and precise transfer of your preserves into the jars, minimizing the risk of spills and contamination. Lastly, a magnetic lid lifter simplifies the process of retrieving and sterilizing the lids.
Labels and Markers
Labeling your canned goods is vital for organization and future reference. Labeling each jar with the date of canning and the contents of the jar helps you keep track of freshness and allows you to easily identify your preserves when you’re searching for a specific item. Using permanent markers or printable labels ensures that your labels won’t smudge or fade over time.
Now that you have the necessary equipment, let’s move on to the preparation steps before you start canning.
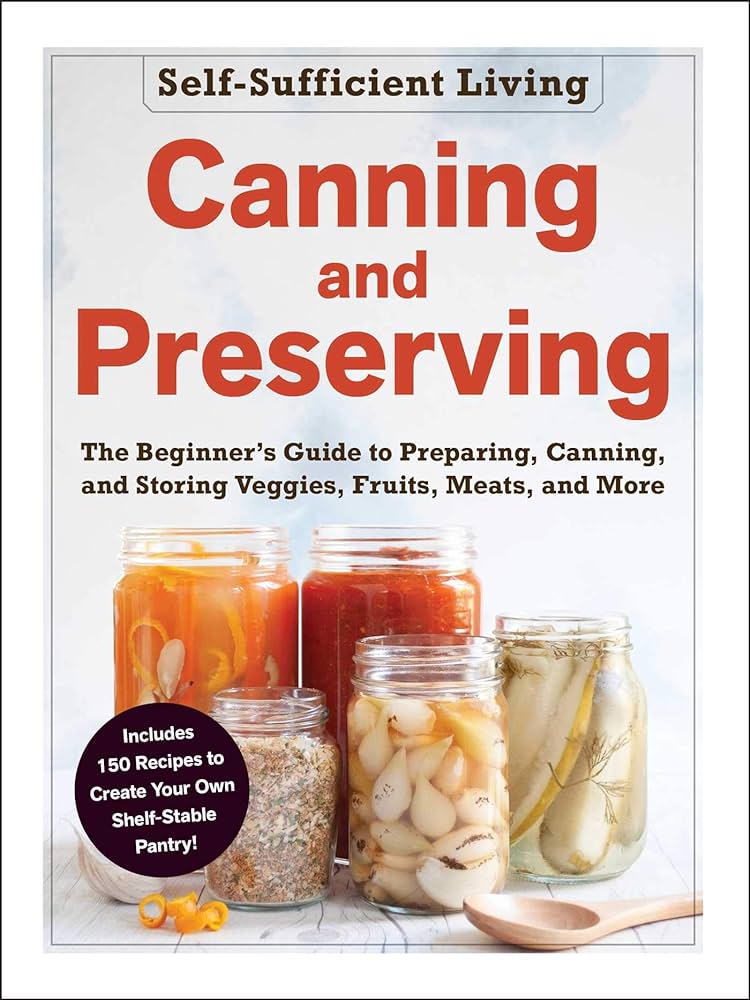
Preparing Fruits and Vegetables for Canning
Before diving into the canning process, it’s important to properly prepare your fruits and vegetables to ensure the best quality and safety of your homemade preserves. Here are the essential steps to follow:
Selecting Fresh Produce
The first step in preparing your fruits and vegetables for canning is to select the freshest and highest quality produce available. Look for fruits and vegetables that are firm, ripe, and free from any bruises or blemishes. Choose produce that is in season for the best flavor and texture. If you’re unable to use your fresh produce immediately, store it in a cool, dark place until you’re ready to begin the canning process.
Cleaning and Washing
Thoroughly washing your fruits and vegetables is necessary to remove any dirt, pesticides, or bacteria that may be present on the surface. Gently rinse them under running water and use a brush to remove any stubborn dirt or debris. Avoid using soap or detergent, as they can leave a residue on the produce. For fruits with delicate skins, such as berries, use a colander to rinse them gently without causing damage.
Peeling and Cutting
Depending on the type of fruit or vegetable, you may need to peel or cut them before canning. Some fruits, like peaches or apples, benefit from being peeled before canning, as it enhances the texture and appearance of the preserves. Use a sharp knife or a peeler to remove the skins, being careful not to waste too much flesh. Similarly, cutting your produce into uniform pieces ensures even cooking and processing during canning.
Blanching (if required)
Blanching is a technique used to partially cook certain fruits and vegetables before canning. It helps to preserve the color, texture, and flavor of the produce while also destroying any enzymes that could lead to spoilage. To blanch your fruits or vegetables, immerse them in boiling water for a short period, usually one to three minutes. After blanching, transfer them immediately to an ice bath to halt the cooking process. This step is particularly useful for vegetables like green beans or tomatoes.
With your fruits and vegetables prepped and ready, let’s explore the different canning methods available.
Canning Methods
There are two primary methods of canning: water bath canning and pressure canning. Understanding the differences between these methods will help you choose the appropriate process for the specific type of produce you’re canning.
Water Bath Canning
Water bath canning is suitable for high-acid foods such as fruits, tomatoes, and pickles that have a pH level below 4.6. This method involves submerging filled jars in a large pot of boiling water and processing them at a specific temperature and time. The high heat penetration kills bacteria, molds, and yeasts, ensuring safe, shelf-stable preserves.
Pressure Canning
Pressure canning is necessary for low-acid foods, including most vegetables, meats, and seafood, that have a pH level above 4.6. These foods require higher temperatures than what can be achieved with a water bath canner to prevent the growth of bacteria like Clostridium botulinum, which can cause botulism. The pressure canner creates a high-pressure environment that allows the temperature to exceed the boiling point of water, ensuring proper preservation and safety.
Now, let’s explore the water bath canning process in detail.
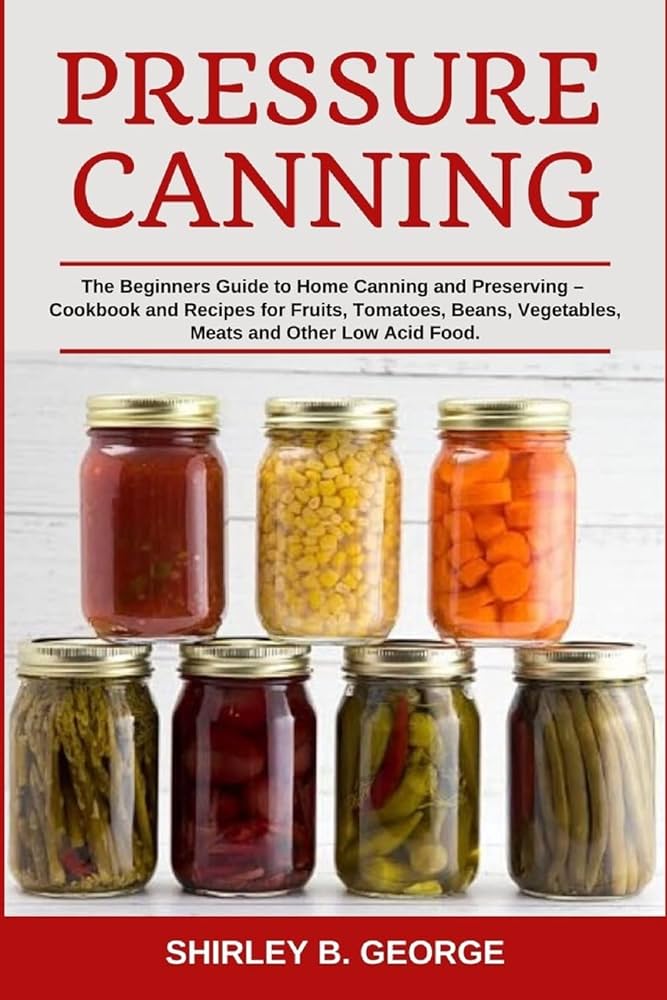
Water Bath Canning Process
Water bath canning is a simple and effective method for preserving high-acid foods. Follow these steps to ensure successful canning:
Preparation of Jars, Lids, and Canner
Before starting the canning process, ensure that your jars, lids, and canner are clean and in good condition. Wash the jars, lids, and bands in warm soapy water, rinsing them thoroughly. Check the jars for any cracks or chips that could compromise the seal. Place the jars in a water bath canner or a large pot and cover them with water. Bring the water to a simmer, and keep the jars submerged until ready to use. Place the lids and bands in a separate pot of simmering water, ensuring they are fully covered.
Preparation of Food
While the jars and lids are being prepared, you can start preparing your fruits or vegetables. Follow the steps mentioned earlier for selecting, cleaning, and washing your produce. Depending on the recipe, peel, cut, and blanch your fruits or vegetables accordingly. Ensure that your food is ready to be filled into the jars before it loses its freshness and color.
Filling and Sealing Jars
Remove a jar from the canner using a jar lifter and place it on a clean towel or cutting board. Use a canning funnel to help transfer the prepared produce into the jar, leaving the recommended headspace as outlined in your recipe. Wipe the rim of the jar with a clean, damp cloth to remove any residue or food particles that could prevent a proper seal. Retrieve a lid and band from the simmering water, carefully placing the lid on top of the jar. Secure it in place with the band, tightening until fingertip tight.
Processing the Jars
Once all the jars are filled and sealed, use a jar lifter to return them to the canner. Ensure that the jars are fully submerged in water, with at least one inch of water covering the tops of the jars. Bring the water to a rolling boil and start the processing time as specified in your recipe. Maintain a consistent boil throughout the processing time, adjusting the heat if necessary. Keep a timer handy to accurately monitor the processing time.
Cooling and Storing
When the processing time is complete, use the jar lifter to carefully remove the jars from the canner and place them on a heat-resistant surface or a towel. As the jars cool, you will hear a popping sound, indicating that the lids are sealing properly. Allow the jars to cool completely undisturbed for 12 to 24 hours. After cooling, check the seals on the lids by pressing down on the center of the lid. If the lid doesn’t flex or move, the jars have sealed correctly. Store the jars in a cool, dark place, away from direct sunlight and extreme temperature fluctuations.
Now that you’ve mastered water bath canning, let’s move on to the pressure canning process.
Pressure Canning Process
Pressure canning is essential for preserving low-acid foods and ensuring their safety. Follow these steps to successfully pressure can your fruits and vegetables:
Preparation of Jars, Lids, and Canner
Similar to water bath canning, start by washing the jars, lids, and bands in warm soapy water and rinsing them thoroughly. Inspect the jars for any damages, cracks, or chips. Place the jars in your pressure canner or a large pot with a rack, and pour in the recommended amount of water specified by your canner’s instructions. Place the lids and bands in a separate pot of simmering water, ensuring they are fully submerged and ready for use.
Preparation of Food
Prepare your fruits or vegetables following the same steps as mentioned earlier. Clean, wash, peel, cut, and blanch your produce if required. It’s crucial to have your food ready to be filled into the jars immediately, as timing is important for preserving the freshness and quality.
Filling and Sealing Jars
Using a jar lifter, remove a jar from the canner and place it on a clean surface. Fill the jar carefully using a canning funnel, leaving the recommended headspace mentioned in your recipe. Wipe the rim of the jar meticulously with a clean, damp cloth to remove any food particles or stickiness. Retrieve a lid and band from the simmering water and place the lid on top of the jar. Secure it in place with the band, tightening until fingertip tight.
Operating the Pressure Canner
Before sealing the pressure canner, ensure that the vent pipe is clean and free from any obstructions. Place the filled jars on the rack inside the pressure canner, being mindful not to overload or stack them. Follow the instructions provided with your pressure canner to properly seal it. Adjust the heat to reach the desired pressure indicated in your recipe and maintain a steady temperature throughout the canning process. Follow the recommended processing time specific to the type of food you are canning. Keep an eye on the pressure gauge or weight to ensure it stays within the specified range.
Cooling and Storing
Once the processing time is complete, turn off the heat source and let the pressure canner cool naturally. Do not attempt to force-cool or open the canner before the pressure has completely reduced. This gradual cooling ensures a safe and proper seal for your preserved fruits and vegetables. Once the pressure has returned to zero, carefully remove the lid of the canner, taking care to avoid any escaping steam. Use a jar lifter to remove the jars from the canner and place them on a heat-resistant surface or a towel. Allow the jars to cool undisturbed for 12 to 24 hours. After cooling, check the seals on the lids, label your jars, and store them in a cool, dark place away from direct sunlight and extreme temperature changes.
Ensuring safety throughout the canning process is crucial. Let’s discuss some best practices and safety tips to follow.
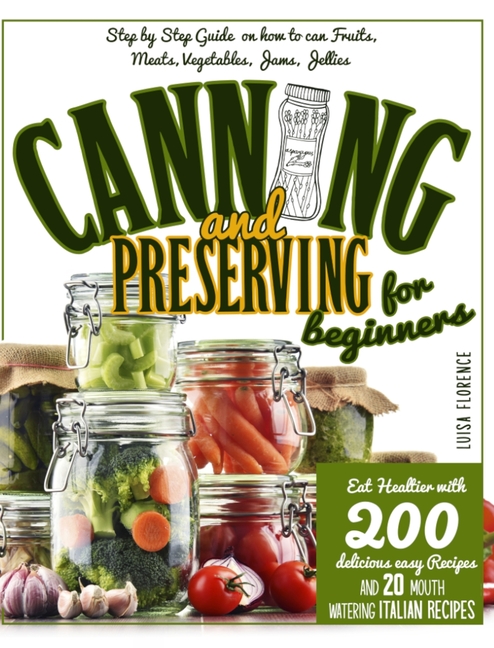
Safety Practices in Canning
Canning and preserving food at home requires attention to safety guidelines to prevent any risks of spoilage or contamination. Here are some safety practices to keep in mind:
Proper Sterilization
Before canning, it’s essential to sterilize your jars, lids, and equipment to ensure a clean and safe environment for your preserves. Wash all the equipment thoroughly with warm soapy water and rinse them well. Submerging the jars and lids in boiling water for at least 10 minutes or using the sanitize cycle in your dishwasher can also achieve sterilization. Keep the jars and lids covered until ready for use to prevent any dirt or contaminants from entering.
Safely Handling Hot Jars
During the canning process, it’s crucial to handle hot jars with caution to avoid burns or accidents. Always use a jar lifter or tongs specifically designed for canning to safely lift and move the hot jars. Avoid placing them directly on cold surfaces or immersing them in cold water too quickly, as the sudden temperature change can cause the jars to break. Use a heat-resistant surface or a towel to protect your countertops and ensure a safe canning experience.
Checking for Seal and Spoilage
Properly sealed jars ensure the safety and longevity of your canned goods. After the jars have cooled for 12 to 24 hours, check the seals by pressing down on the center of the lids. If the lids flex and move, the jars have not sealed properly, and the contents may be compromised. In such cases, refrigerate or consume the contents immediately rather than storing them. Additionally, inspect the jars for any signs of spoilage such as mold, off smells, or cloudy liquids. If any jars show signs of spoilage, discard them immediately to avoid any health risks.
Safe Storage and Shelf Life
To ensure the best quality and taste, store your canned fruits and vegetables properly. Store the jars in a cool, dark place that is free from direct sunlight and extreme temperature fluctuations. Ideally, the temperature should be between 50°F (10°C) and 70°F (21°C). Label your jars with the date of canning to keep track of their freshness. While most properly canned goods can last for one to two years, it’s recommended to consume high-quality preserves within the first year for optimal taste and nutritional value.
While canning is generally a safe and straightforward process, it’s important to be aware of and troubleshoot any common issues that may arise.
Troubleshooting Common Canning Issues
Even with the best intentions and following proper procedures, certain issues can occur during the canning process. Let’s explore some common problems and how to address them:
Jar Breakage
Jar breakage can occur due to a variety of reasons, including temperature fluctuations, improperly filled jars, or weak glass. To prevent this issue, always use canning-specific jars that can withstand high temperatures and avoid placing hot jars on cold surfaces. Make sure to leave the recommended headspace when filling the jars, as overfilled jars can burst during processing. Lastly, handle the jars carefully during canning and cooling to protect them from accidental damage.
Spoilage and Mold
Spoilage and mold can occur if the canning process was not done correctly, leading to an unsafe product. Signs of spoilage include mold growth, off smells, cloudy liquids, or bulging lids. To avoid spoilage, ensure that your jars are properly sealed and that the contents have been processed at the correct temperature and time. Follow strict hygiene practices during the canning process and discard any jars that show signs of spoilage or contaminants.
Lack of Seal
A lack of seal on your jars can be due to improper lid placement, residue on the jar rims, or a defective lid. Always wipe the rim of the jars clean before placing the lid, making sure there are no food particles or debris that could prevent a proper seal. Secure the lids tightly but not overly tight to allow for air to escape during processing. If a jar fails to seal, you can refrigerate or consume the contents immediately, or reprocess the jar using a new lid following the recommended guidelines.
Low Acid Foods
Preserving low-acid foods, such as vegetables, requires pressure canning to ensure safety. It’s essential to follow the correct pressure and time specifications provided in approved recipes to destroy any harmful bacteria like Clostridium botulinum. Be cautious when modifying or substituting ingredients in low acid recipes, as this can impact the acidity levels and may affect the safety of your canned goods.
Now that you’re equipped with the knowledge of canning and have learned about the various processes, let’s explore some delicious recipes to get you started.
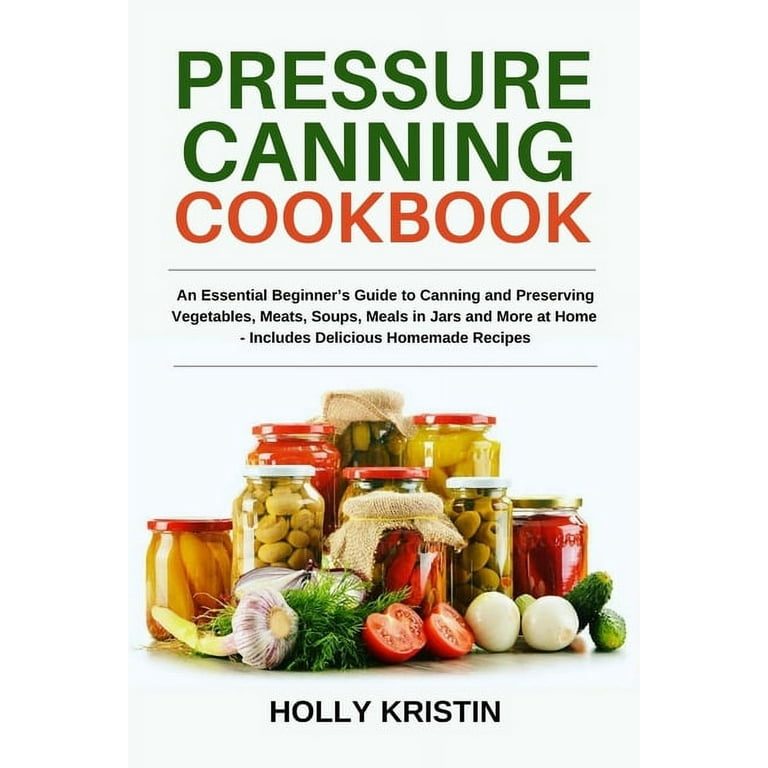
Recipes for Canning Fruits
Strawberry Jam
Ingredients:
- 2 pounds of fresh strawberries
- 4 cups of granulated sugar
- 1/4 cup of lemon juice
Instructions:
- Wash and hull the strawberries, then crush them lightly using a potato masher or a fork.
- In a large pot, combine the crushed strawberries, sugar, and lemon juice. Stir well to combine.
- Heat the mixture over medium-high heat, stirring frequently until it comes to a rolling boil.
- Continue cooking, stirring often, until the jam thickens and reaches the desired consistency, usually around 10 to 15 minutes.
- Remove the pot from the heat and skim off any foam that forms on the surface.
- Ladle the hot jam into sterilized jars, leaving a 1/4-inch headspace. Wipe the rims clean and secure with lids and bands.
- Process the jars in a water bath canner for 10 minutes, adjusting the processing time according to your altitude.
- After processing, remove the jars from the canner and let them cool completely before checking the seals and storing in a cool, dark place.
Peach Slices in Syrup
Ingredients:
- 4 pounds of ripe peaches
- 4 cups of granulated sugar
- 4 cups of water
Instructions:
- Bring a large pot of water to a boil. Score an “X” on the bottom of each peach.
- Immerse the peaches in the boiling water for 30 seconds, then transfer them to an ice bath to cool.
- Peel the peaches, remove the pits, and cut them into slices or halves.
- In another pot, combine the sugar and water, stirring until the sugar dissolves completely. Bring the syrup to a boil.
- Add the peach slices to the boiling syrup and cook for 3 minutes, stirring gently.
- Use a slotted spoon to transfer the peaches into sterilized jars, leaving a 1/2-inch headspace. Pour the hot syrup over the peaches, leaving a 1/2-inch headspace.
- Wipe the rims clean, place the lids and bands, and process the jars in a water bath canner for 20 minutes.
- Remove the jars from the canner, let them cool completely, check the seals, and store in a cool, dark place.
Blueberry Compote
Ingredients:
- 4 cups of fresh blueberries
- 1 cup of granulated sugar
- 2 tablespoons of lemon juice
Instructions:
- Rinse the blueberries under cold water and drain them well.
- In a large pot, combine the blueberries, sugar, and lemon juice. Stir well to coat the blueberries with the sugar.
- Cook the mixture over medium heat, stirring frequently, until the blueberries release their juices and the mixture thickens, usually about 15 to 20 minutes.
- Remove the pot from the heat and let the compote cool slightly.
- Ladle the compote into sterilized jars, leaving a 1/4-inch headspace. Wipe the rims clean, apply the lids and bands, and secure fingertip tight.
- Process the jars in a water bath canner for 10 minutes.
- After processing, remove the jars from the canner and let them cool completely before checking the seals and storing in a cool, dark place.
Now that we’ve explored some fruit canning recipes, let’s move on to vegetables.
Recipes for Canning Vegetables
Pickled Cucumbers
Ingredients:
- 3 pounds of pickling cucumbers
- 2 cups of white vinegar
- 2 cups of water
- 1/4 cup of pickling salt
- 4 cloves of garlic, peeled
- 4 sprigs of fresh dill
- 1 tablespoon of pickling spice
Instructions:
- Wash the cucumbers thoroughly and slice them into spears or rounds, according to your preference.
- In a large pot, combine the vinegar, water, and pickling salt. Bring the mixture to a boil, stirring until the salt dissolves completely.
- In each sterilized jar, place a garlic clove, a sprig of dill, and a tablespoon of pickling spice.
- Pack the sliced cucumbers tightly into the jars, leaving a 1/2-inch headspace.
- Pour the hot vinegar mixture over the cucumbers, covering them completely and leaving a 1/2-inch headspace.
- Use a bubble remover tool to remove any trapped air bubbles, wipe the rims clean, and secure the jars with lids and bands.
- Process the jars in a water bath canner for 15 minutes, adjusting the processing time according to your altitude.
- After processing, remove the jars from the canner, let them cool completely, check the seals, and store in a cool, dark place.
Tomato Sauce
Ingredients:
- 10 pounds of ripe tomatoes
- 2 onions, chopped
- 4 cloves of garlic, minced
- 1/4 cup of olive oil
- 2 tablespoons of sugar
- 2 tablespoons of salt
- 2 teaspoons of dried basil
- 1 teaspoon of dried oregano
- 1/2 teaspoon of black pepper
Instructions:
- Wash the tomatoes and blanch them in boiling water for 30 seconds. Transfer them to an ice bath and remove the skins.
- Remove the cores and chop the tomatoes into small pieces.
- In a large pot, heat the olive oil over medium heat and sauté the onions and garlic until they become translucent.
- Add the chopped tomatoes, sugar, salt, dried basil, dried oregano, and black pepper to the pot. Stir well to combine.
- Bring the tomato mixture to a simmer and cook for approximately 2 hours, stirring occasionally to prevent sticking and burning.
- Use an immersion blender or a food processor to puree the cooked tomato mixture until smooth.
- Ladle the hot tomato sauce into sterilized jars, leaving a 1/4-inch headspace. Remove any air bubbles using a bubble remover tool.
- Wipe the rims clean, apply the lids and bands, and process the jars in a water bath canner for 35 minutes.
- After processing, remove the jars from the canner and let them cool completely before checking the seals and storing in a cool, dark place.
Green Beans in Brine
Ingredients:
- 3 pounds of fresh green beans
- 4 cups of water
- 4 cups of white vinegar
- 1/2 cup of pickling salt
- 4 cloves of garlic, minced
- 4 small dried red chili peppers
- 4 sprigs of fresh dill
Instructions:
- Wash the green beans and trim the ends. Cut them into the desired length, such as 1-inch pieces or leaving them whole.
- In a large pot, combine the water, vinegar, pickling salt, minced garlic, and dried red chili peppers. Bring the mixture to a boil and stir until the salt dissolves completely.
- In each sterilized jar, place a sprig of fresh dill and pack the green beans tightly, leaving a 1/2-inch headspace.
- Pour the hot brine over the green beans, covering them completely and leaving a 1/2-inch headspace.
- Use a bubble remover tool to eliminate any trapped air bubbles, wipe the rims clean, and apply the lids and bands.
- Process the jars in a water bath canner for 10 minutes, adjusting the processing time according to your altitude.
- After processing, remove the jars from the canner, let them cool completely, check the seals, and store in a cool, dark place.
Congratulations! You’ve reached the end of our comprehensive article on canning and preserving fruits and vegetables. Armed with the benefits, equipment, preparation steps, canning methods, safety practices, troubleshooting tips, and delicious recipes, you’re now ready to embark on your own canning journey. Have fun preserving the flavors of each season and enjoy the rewards of your homemade, shelf-stable delights that will bring joy to your meals year-round. Happy canning!
