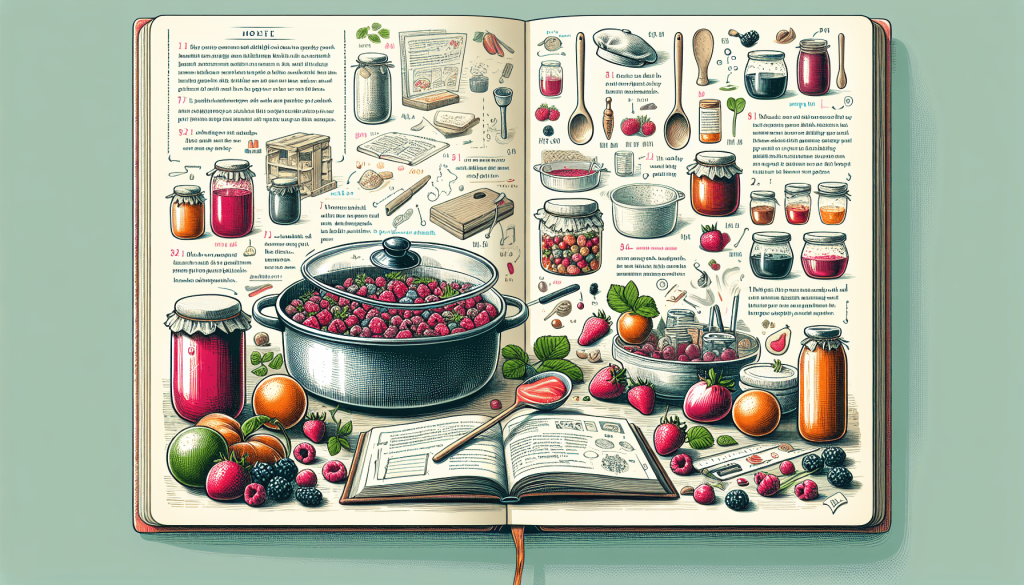
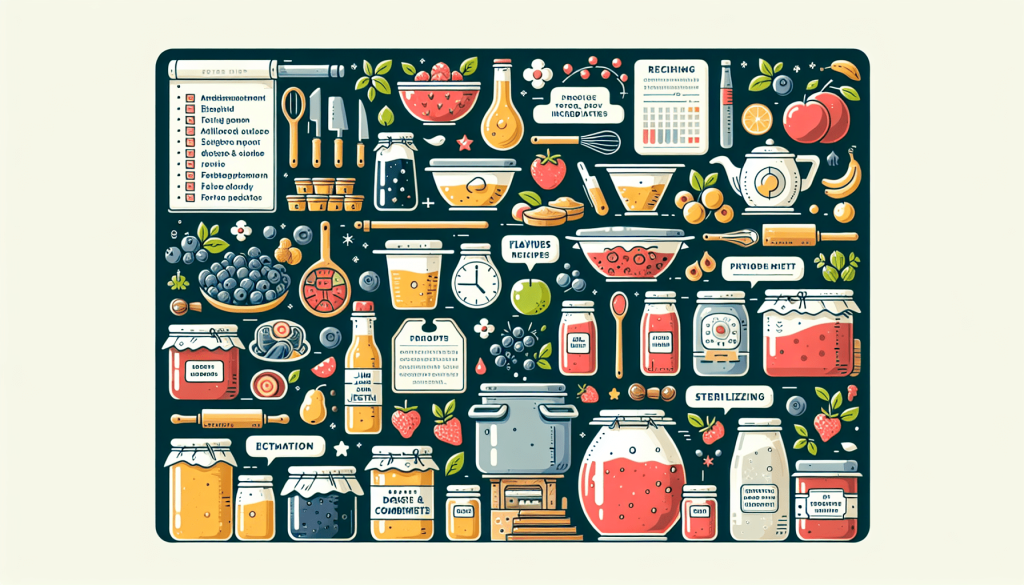
So, you have a craving for some delicious homemade jam or jelly, but you’re not quite sure where to begin? Look no further, because in this article, we’re going to teach you the secrets to creating the best homemade jam and jelly recipes. From selecting the freshest fruits to mastering the art of achieving a perfect set, we’ll guide you step-by-step through the process. Get ready to impress your friends and family with your culinary skills, as we unlock the secrets to making incredible homemade jam and jelly that will leave everyone wanting more.
Choosing the Right Fruit
When it comes to making homemade jam and jelly, selecting the right fruit is crucial for a successful outcome. To achieve a jam or jelly that is bursting with flavour, opt for ripe and sweet fruits. Look for fruits that are vibrant in color and slightly soft to the touch. They should have a pleasant fragrance that is indicative of their ripeness. For the best results, avoid using overripe or underripe fruits as they may not have the ideal balance of sweetness and acidity.
Mixing different fruits can also create unique and delicious flavor combinations. Consider combining fruits with contrasting flavors and textures to create a well-rounded jam or jelly. For example, pairing tart berries with sweeter fruits like peaches or apples can create a delightful contrast. Get creative and experiment with different fruit combinations to discover your own signature jam or jelly flavor.
To enhance the taste of your homemade jam or jelly even further, it is advisable to use seasonal fruits. Not only will seasonal fruits be at the peak of their flavor, but they are also more readily available and often more affordable. By utilizing seasonal fruits, you can ensure that your jam or jelly is bursting with freshness and captures the essence of the season.

Preparing the Fruit
Before starting the process of making homemade jam or jelly, it is essential to prepare the fruit properly. Begin by washing the fruit thoroughly under cold water to remove any dirt or residues. Be gentle while washing to prevent bruising or damaging the fruit.
Depending on the type of fruit you are using, you may need to peel or remove pits or seeds. For example, stone fruits such as peaches or plums require peeling and pitting, while berries can be used as they are. Take the time to peel or remove pits and seeds to ensure a smoother texture in your final product.
Once the fruit is prepped, you can proceed to chop or crush it according to your preference. Chopping the fruit into small pieces helps to release its juices, which aids in the cooking process. If you prefer a smoother consistency, you can use a blender or food processor to crush the fruit. Straining the fruit pulp is optional, but it can remove any solid pieces, resulting in a smoother and more refined texture for your jam or jelly.

Adding Sweeteners
Choosing the right type of sweetener and determining the appropriate sweetness for your jam or jelly is crucial to achieving the desired flavor profile. The most common sweetener used in homemade jams and jellies is sugar. When selecting sugar, opt for a fine-grain variety as it dissolves more easily. White granulated sugar is a popular choice, but you can also experiment with other types of sugar, such as brown sugar or raw cane sugar, to add depth and complexity to your jam or jelly.
Alternatively, you can use honey or alternative sweeteners like agave syrup or maple syrup. These natural sweeteners can provide a distinct taste and aroma to your homemade creations. Keep in mind that the sweetness level may vary depending on the type and amount of sweetener used, so adjust accordingly to suit your personal preference.
Enhancing Flavors
To take your homemade jam or jelly to the next level, consider adding additional flavor elements. Citrus zest or juice can add a bright and refreshing note to your creations. Lemon zest, in particular, can provide a tangy and zesty kick, while orange juice adds a subtle sweetness. Experiment with different citrus fruits to find the perfect balance of flavors for your jam or jelly.
Spices can also elevate the taste of your homemade jam or jelly. A pinch of cinnamon or nutmeg can create a warm and comforting flavor profile. Infusing herbs like mint or lavender can lend a unique and aromatic twist. Additionally, don’t be afraid to experiment with vanilla extract or liqueurs to add depth and complexity to your homemade creations.
Using Pectin
Pectin plays a crucial role in the gel-like consistency of jam and jelly. It is a naturally occurring substance found in many fruits and helps the mixture thicken during the cooking process. Understanding the role of pectin is essential for achieving the perfect texture in your homemade jam or jelly.
While some fruits naturally contain pectin, not all do. To ensure a consistent and reliable gel, you may need to add pectin to your recipes. There are two main types of pectin available: commercial pectin and natural pectin. Commercial pectin is readily available in most grocery stores and provides a quick and easy solution. Natural pectin, on the other hand, requires a bit more effort as it involves extracting pectin from high-pectin fruits like apples or citrus peels.
To use pectin effectively, carefully follow the instructions provided. Add it at the appropriate stage of the cooking process to ensure proper gel formation. Keep in mind that using too much or too little pectin can affect the consistency of your jam or jelly, so precise measurements are crucial.
Cooking Process
The cooking process is where the magic happens and transforms the fruit, sweeteners, and other ingredients into a delectable jam or jelly. To ensure even heating, use a heavy-bottomed pan that distributes heat evenly. This will prevent your jam or jelly from scorching or sticking to the bottom of the pan.
Start by simmering the fruit and sweeteners over medium heat, stirring occasionally to prevent burning. As the mixture cooks, you may notice foam forming on the surface. Skim off the foam using a spoon to maintain a clear and smooth texture.
To determine if your jam or jelly has reached the desired consistency, use the gel stage test. Take a small amount of the mixture and place it on a chilled plate or spoon. Allow it to cool for a few seconds, then gently push it with your finger. If it wrinkles or holds its shape, it has reached the gel stage and is ready to be transferred to jars.
Sterilizing Jars and Lids
Properly sterilizing the jars and lids is vital to prevent the growth of harmful bacteria and ensure the long shelf life of your homemade jam or jelly. Start by washing the jars and lids in hot soapy water to remove any dirt or residue. Rinse them thoroughly to ensure they are clean.
Next, submerge the jars and lids in boiling water for a designated period. This process kills any bacteria present and sterilizes the containers. Carefully remove the jars and lids from the boiling water, making sure to handle them with oven mitts or tongs to avoid burns.
Before filling the jars, ensure they are completely dry. Any residual moisture can compromise the preservation of your jam or jelly. Take the time to dry the jars and lids thoroughly to prevent any unwanted moisture from contaminating your homemade creations.
Filling and Sealing Jars
To make the filling process neater and more efficient, use a funnel. This will help prevent spills or drips, ensuring that the jam or jelly makes it into the jars rather than onto your countertop.
When filling the jars, be sure to leave an appropriate amount of headspace at the top. This space allows for expansion during processing and ensures a proper seal. Refer to the recipe or product instructions for the recommended headspace measurement.
Before sealing the jars, wipe the rims clean using a clean, damp cloth. Any sticky residue can interfere with the sealing process, so make sure the rims are completely clean and dry. Once cleaned, place the lids onto the jars and tighten them securely, but be careful not to overtighten as this can affect the seal.
Water Bath Canning
Water bath canning is a popular method for preserving homemade jam and jelly, ensuring its long shelf life. To prepare a water bath canner, fill a large pot with enough water to cover the filled jars by at least one inch. Place a rack or towel at the bottom of the pot to prevent the jars from rattling or touching the direct heat source.
Once the water bath canner is ready, carefully submerge the filled jars, ensuring they are fully immersed in the boiling water. Process the jars according to the recommended time provided in the recipe or product instructions. This processing time varies depending on the type of fruit, altitude, and jar size.
After the recommended processing time, carefully remove the jars from the water bath canner using oven mitts or tongs. Place them on a heat-resistant surface to cool completely. As the jars cool, you may hear a satisfying popping sound, indicating that the lids have sealed properly.
Storing and Enjoying
Before storing your homemade jam or jelly, it is crucial to check the jar seals for proper preservation. Gently press down on the center of each lid. If the lid is firm and does not move or make a popping noise, it is securely sealed. If the lid pops or moves, it indicates that the seal is not tight, and the jar should be refrigerated and consumed within a few weeks.
Labeling the jars with the date and type of jam or jelly is essential for proper organization and identification. Use waterproof labels or markers to ensure the information remains intact, even in a cool, humid environment.
To maximize the shelf life of your homemade jam or jelly, store them in a cool, dark place away from direct sunlight. Ideally, a pantry or cupboard would be perfect for this purpose. When stored properly, homemade jam or jelly can last for up to a year, but it is best consumed within 6 to 8 months for optimal flavor and freshness.
Now that you have successfully made your own homemade jam or jelly, it’s time to savor the fruits of your labor. Spread it on toast, pastries, or scones for a delightful breakfast or snack. It can also be used as a filling for cakes or cookies, or even drizzled over ice cream for a sweet and tangy twist. Homemade jam and jelly also make wonderful gifts for friends and family, allowing them to enjoy your delicious creations too. So get ready to indulge in the goodness of homemade jam and jelly, made with love and care.
